How to add a domain with Amazon Route 53
In this article, I will show you how to add a domian with AWS Route 53. I will use Namecheap as my domain registrar(you can use any domain registrar).
Prerequisite
Create Hosted Zone
First, you need to create a Hosted Zone in AWS Route 53. To do that, go to the Route 53 console and click on Hosted Zone.
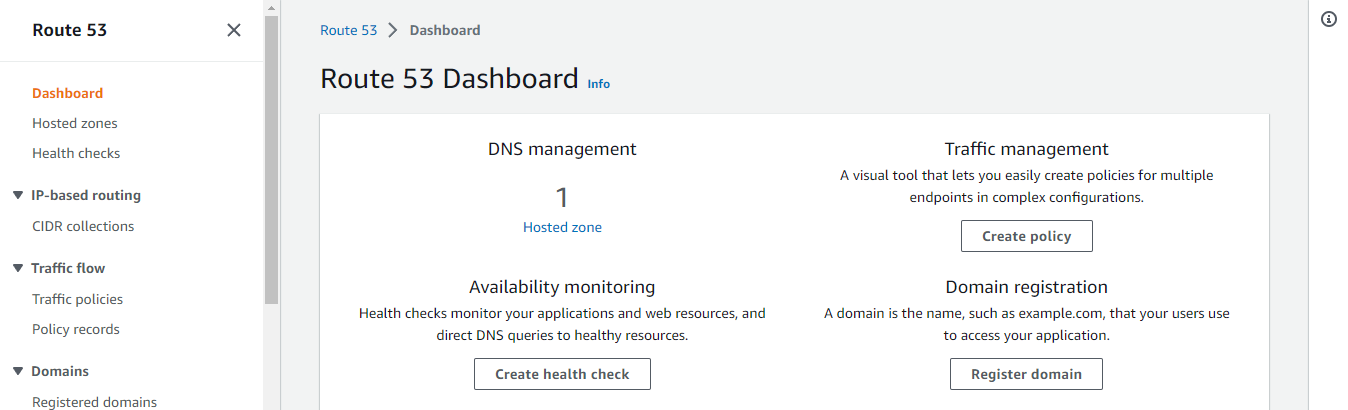
Then click on Create Hosted Zone.

It will navigate you to page like this.
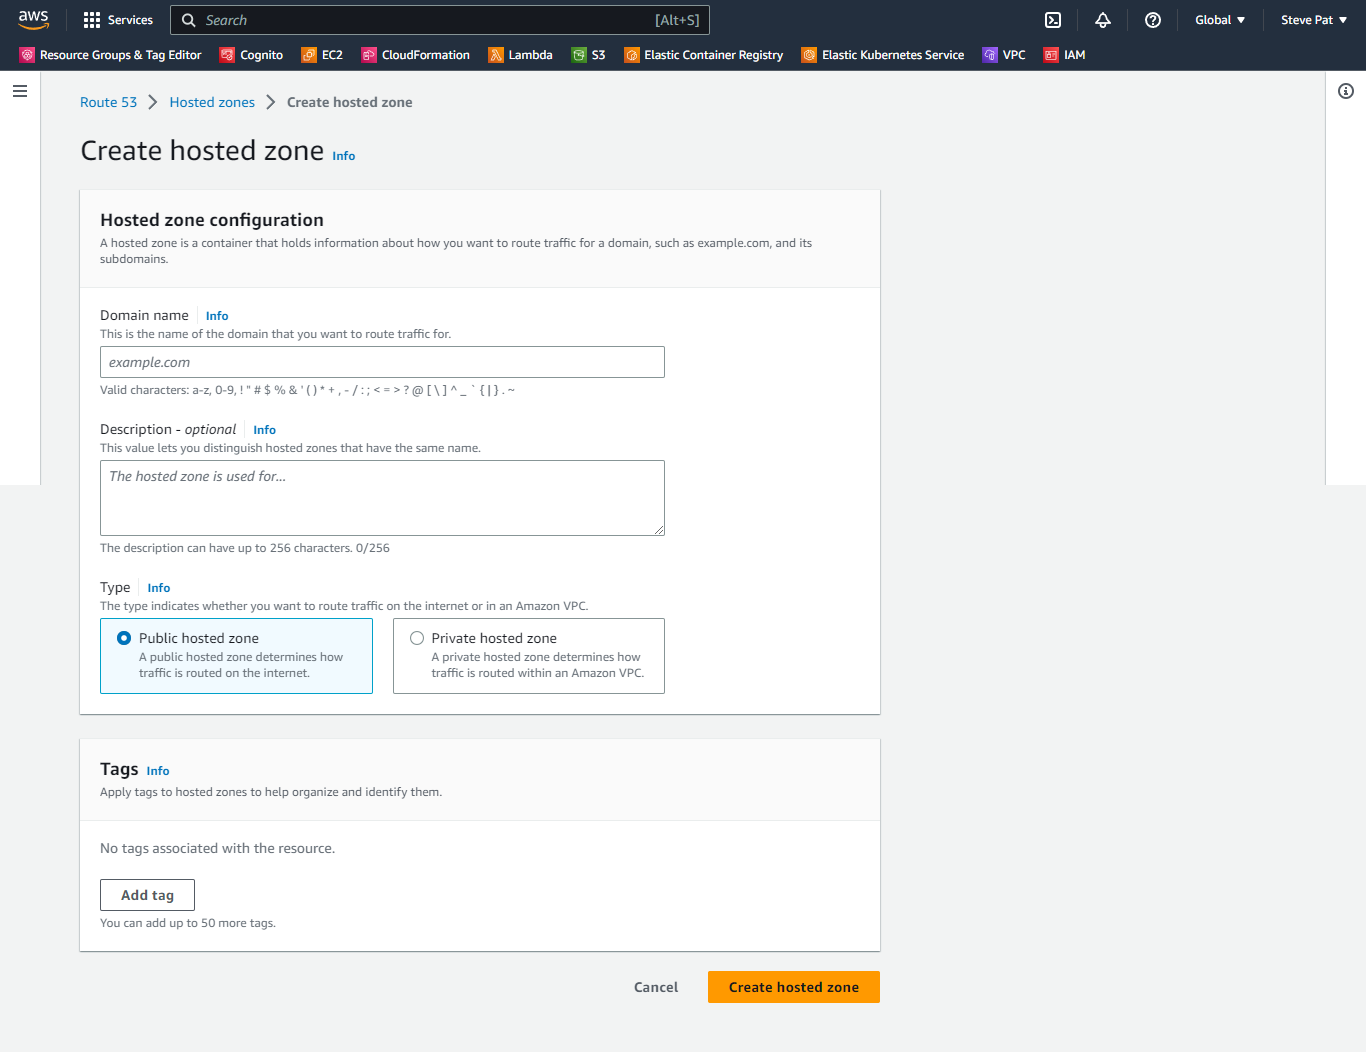
Enter your domain name and then select Public hosted zone. Then click on Create hosted zone. It will create Two DNS records, “NS” and “SOA” in the new hosted zone, as shown below.
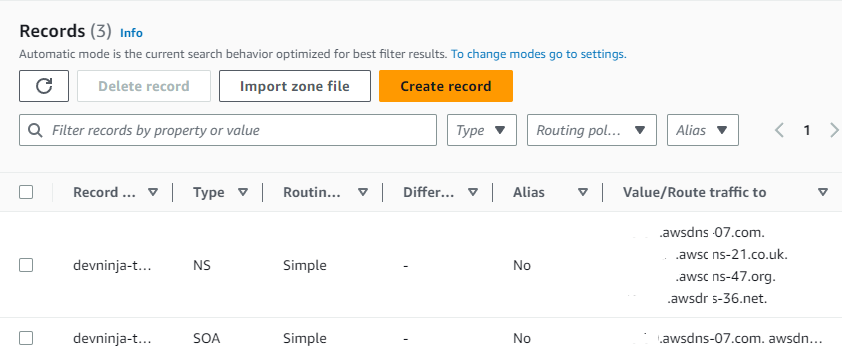
Now we need click on the NS Record and need to copy all 4 DNS servers becuase we need to add them to our domain registrar(in this case Namecheap).
Change DNS in Domian Registrar
Now, we need to head over to our Domian Registrar (in this case Namecheap). Then go to Domain List and click Manage, then scroll down to Nameservers located under Domain tab, and change to custom DNS. Now you need to paste the 4 DNS servers that we copied from the NS record in AWS Route 53 and Save it. Now we have successfully added our domain to AWS Route 53 and configured with our domain registrar.
Conclusion
In this article, we learned how to add a domian with AWS Route 53. I hope you enjoyed this article. If you have any issue regarding this tutorial, mention your issue in the comment section or reach me through my E-mail.
Happy Coding
All articles on this blog are licensed under CC BY-NC-SA 4.0 unless otherwise stated.

Comments
GitalkDisqus


