In this article, let’s take a look at how to host a static website on Netlify, including setting up continuous deployment.
Before moving to the configuration part. Just take a look at what is Netlify is?
What is Netlify?
Netlify is a tool that provides an intuitive online interface for deploying websites in just a few clicks. Their STARTER package is free & it's great for hosting your personal, experimental and hobby sites. What's more,
It's completely free 😯
It provides 100GB bandwith per month
Can use with any git provider ( GitHub, GitLab, Bitbucket ) or you can simply build your site by drag and drop your files
Contionouns Deployment
300 build minitues
Free SSL
Prerequisites
Netlify Account
Before Starting make sure that you have a Netlify account. If not, you can simply obtain a Netlify account
here. You can Signup with Git provider account or you can Signup with your E-mail by just providing your Email & Password.
GitHub Account
In this tutorial, I used code hosted in my
GitHub to deploy new site.
Create new site
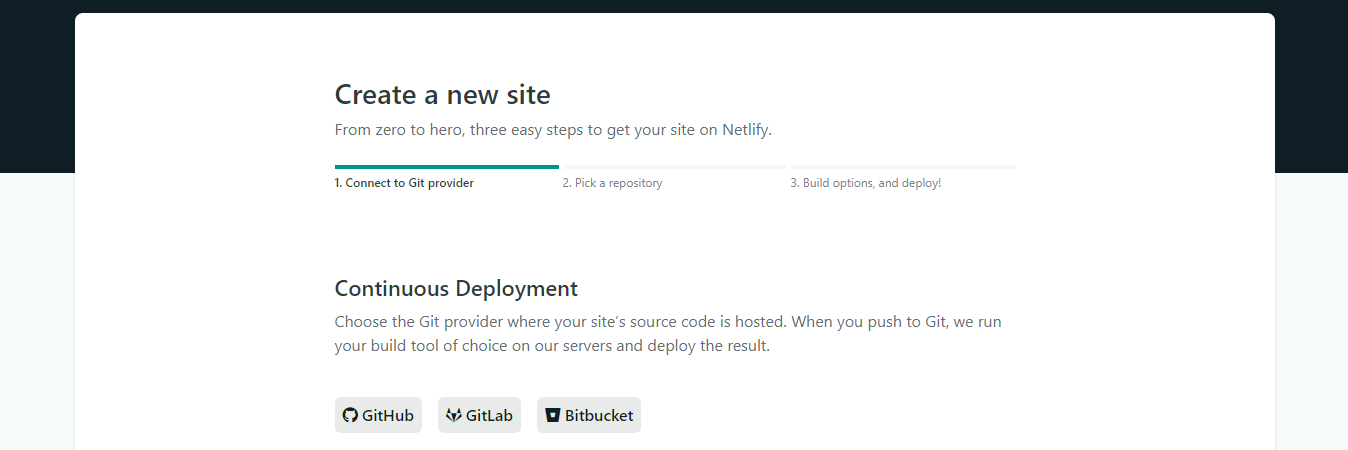
The first step is to Login to your Netlify account & visit the Netlify Create a new site page.
 In the Continuous Deployment section, choose the git provider your code is hosted on, in my case GitHub.
 At this point Netlify will ask you to authorize access to your GitHub account. Once you have given permission to Netlify to access your GitHub repositories, it will list down your all repositories & it will ask you to choose the project you want to deploy.

Choose which branch to deploy
Now you should tell Netlify to which branch you want to deploy. In git default branch will calls as master.
 In case of you want to deploy another branch apart from
 master branch you can choose it from the drop down list. I previously mentioned that Netlify provides continuous deployment support which means every time you push code to your chosen branch Netlify will re-deploy the site and your changes will be available for live. This feature allows you to keep your website up to date.
Basic build settings
If your site built using static site generator like Gatsby.js, Jekyll, Middleman, Hugo or Hexo, you have to configure this basic build settings part. Build command is the command you use to build your static files (such as gatsby build, jekyll build or middleman build). Publish directory is the directory where your generated files are located (such as public/ or build/).
Deploy your site
After filled out all the required feilds, click the Deploy site button to continue. You did your part. Now let Netlify take care of the rest.
All done
After the build completes, your site is live! you can see the URL of your newly published site.

Bonus Step: Chage your site name
Netlify automatically generated a name for your site. But i am pretty sure that you are not interested 😟 with that site name. So you can simply change it by clicking on Domian Settings -> Custom Domian -> Options -> Edit site name.
Do you want to see what I am deployed to Netlify.
 In the Continuous Deployment section, choose the git provider your code is hosted on, in my case GitHub.
 At this point Netlify will ask you to authorize access to your GitHub account. Once you have given permission to Netlify to access your GitHub repositories, it will list down your all repositories & it will ask you to choose the project you want to deploy.
 In case of you want to deploy another branch apart from
